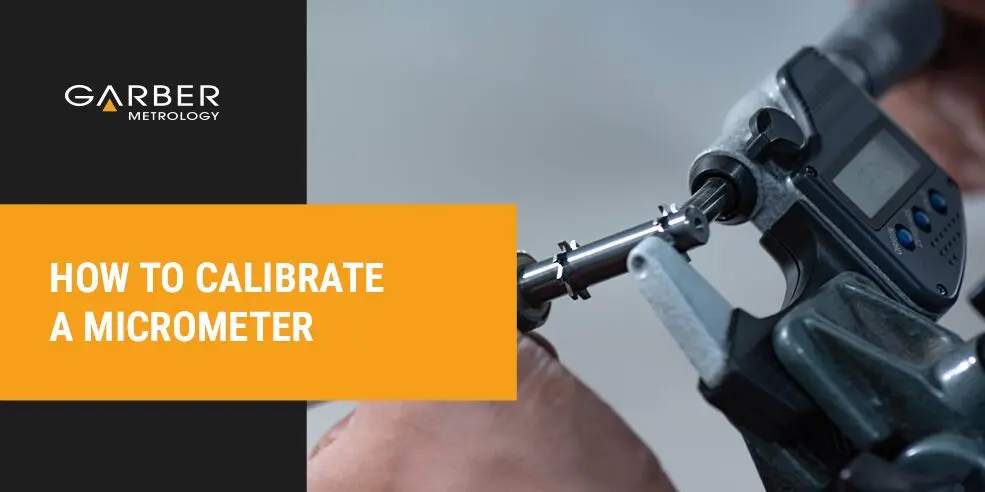
In many industries, the precision and accuracy of measuring tools are paramount. The micrometer, a staple in machine shops, manufacturing floors and quality control labs, provides precise, accurate measurements that even calipers cannot match.
Understanding the micrometer calibration procedure ensures your measurements are trustworthy, your parts meet specifications and your operations run smoothly.
Regularly calibrating your instruments is a fundamental practice for any quality management system. For a high-precision tool like a micrometer, calibration can identify and reduce bias in its measurements, ensuring the readings you take accurately reflect the object’s dimensions.
The key benefits of diligent micrometer calibration include:
There is no single answer for how often a micrometer’s calibration should be checked. The ideal frequency depends on many factors. An effective management plan tailors the interval according to several key factors:
As a general starting point, many organizations choose a 12-month interval for tools with moderate use and adjust from there based on performance and risk when calibrating micrometers. For daily users, it is a best practice to check the micrometer’s zero reading at the start of every shift.
While the “outside micrometer” is the most common, various designs exist for specific measurement tasks. Understanding the type you have is crucial for proper handling and calibration. Key types include:
The first step for calibrating an analog or digital micrometer is to inspect its physical appearance. Expert technicians will begin by cleaning any dirt from the measuring anvils. Then, they will perform a flatness calibration to verify that the geometric shape has not become distorted. They will then test the device to ensure the spindle moves smoothly through its entire measuring path.
After verifying that the mechanical components look and perform as they should, technicians use gauge blocks, which are devices used to test a micrometer’s calibration, or other standards with a precise length, checking about three to five points for accuracy. If the measurements do not fall within the tolerance limits, technicians can adjust the equipment or suggest repairs.
Once calibrated correctly, a micrometer provides precise and accurate measurements ideal for several applications, including military and commercial aerospace, medical and machining. These industries require highly accurate and precise measurements to ensure compliance with standards and keep product output consistent with key specifications.
For over 50 years, Garber Metrology has been a trusted partner for businesses in the Mid-Atlantic region and beyond. Our ISO/IEC 17025-accredited and ISO 9001-registered laboratory provides traceable, certified calibrations for a wide range of dimensional tools, including all types of micrometers.
Our expert technicians operate in an environmentally controlled lab to ensure the highest degree of accuracy and precision. We understand that accuracy and precision are critical to your success. For peace of mind and measurements you can trust, rely on our expert precision calibration services.
Contact us for a free quote today to learn more about our capabilities.
